Guest post by: Lily Snow
Step 1: Get to Know Your Stunt Kite
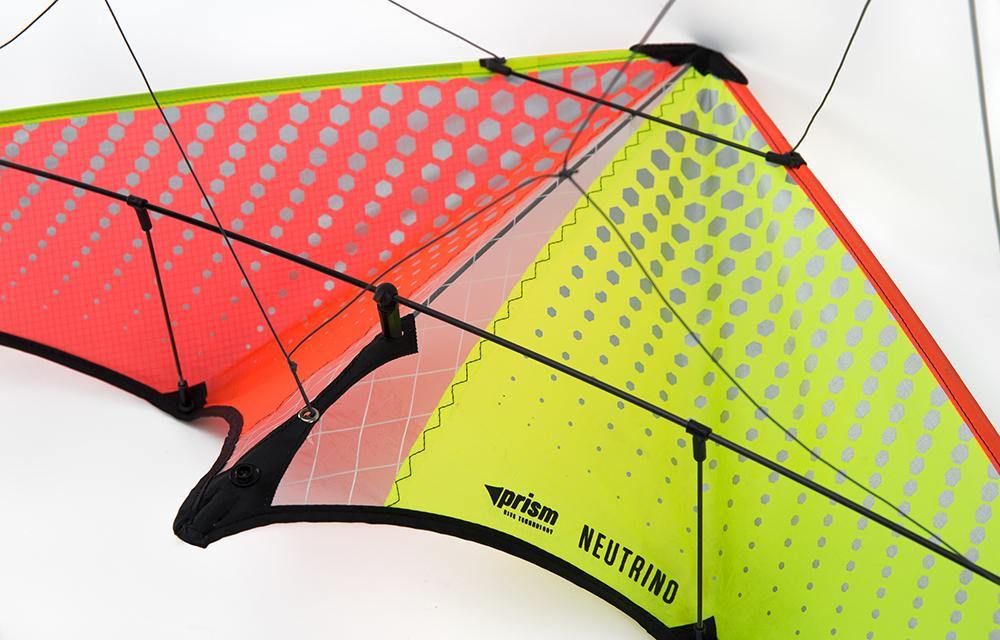
Getting to know your stunt kite before you go out to fly it for the first time can make the process a lot smoother. I always recommend people go home and set up and break down their kites a few times before going out to fly them. This lets you get used to it before you’re out in the field where wind, dirt, or sand can make the process more complicated, especially if you’ve never done it before. The process of setting up and breaking down can also be a lot faster after you’ve done it a few times.
Step 2: Pick the Right Place and Time
It sounds simple but one of the most important steps in kite flying, especially stunt kite flying, is picking the right location and time (wind). When it comes to location, you are going to want to fly in a large open area away from powerlines, airports, trees, or buildings. Not only could your kite get caught up in or on something, but buildings and trees might block wind or make the wind more turbulent which can make it much more difficult to fly. Try not to fly in busy areas either. You wouldn’t want to hit someone with your kite or lines. Most people wouldn’t know to stay away from the kite line. You are responsible for the safety of yourself and those around you when you are flying.

Source: WindAlert.com
When it comes to time to fly a kite, you want to make sure you have the right wind for the kite you’re flying. Most kites will have a labeled wind range on the tag. But keep in mind that the low and high ends of these wind ranges are going to be more difficult to fly in, especially if you’re just starting out. You also want to make sure the winds are steady. Gusty winds can make it hard to keep a kite in the air. Most importantly never fly in thunderstorms, wet weather, or any conditions that you’re not comfortable flying in. Know your kite and your abilities and wait for another day if conditions are outside of that.
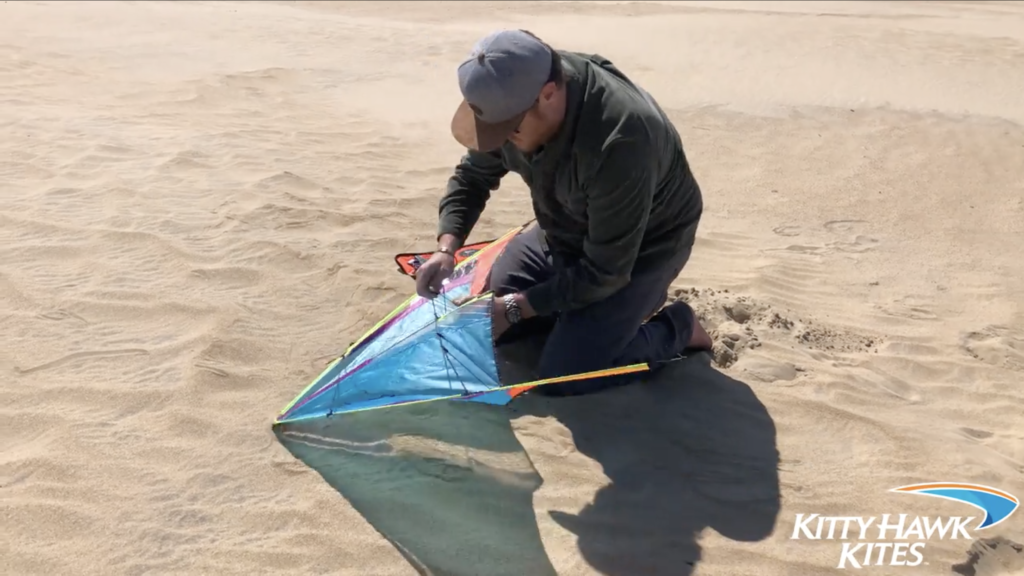
Step 3: Set Up Your Kite

If you started with step 1 this should be like riding a bike. Your kite will come with instructions from the manufacturer for assembly. Pay attention to the direction the wind is blowing. Set up your stunt kite with your back to the wind. If it is pretty windy you may have to put some sand or dirt in the kite to keep it from blowing around while you unwind your line. Unwind your line and be sure when you finish that you have the line attached to the right side of the kite in your right hand and the line on the left in your left hand. Mixing this up will make it very difficult to fly.
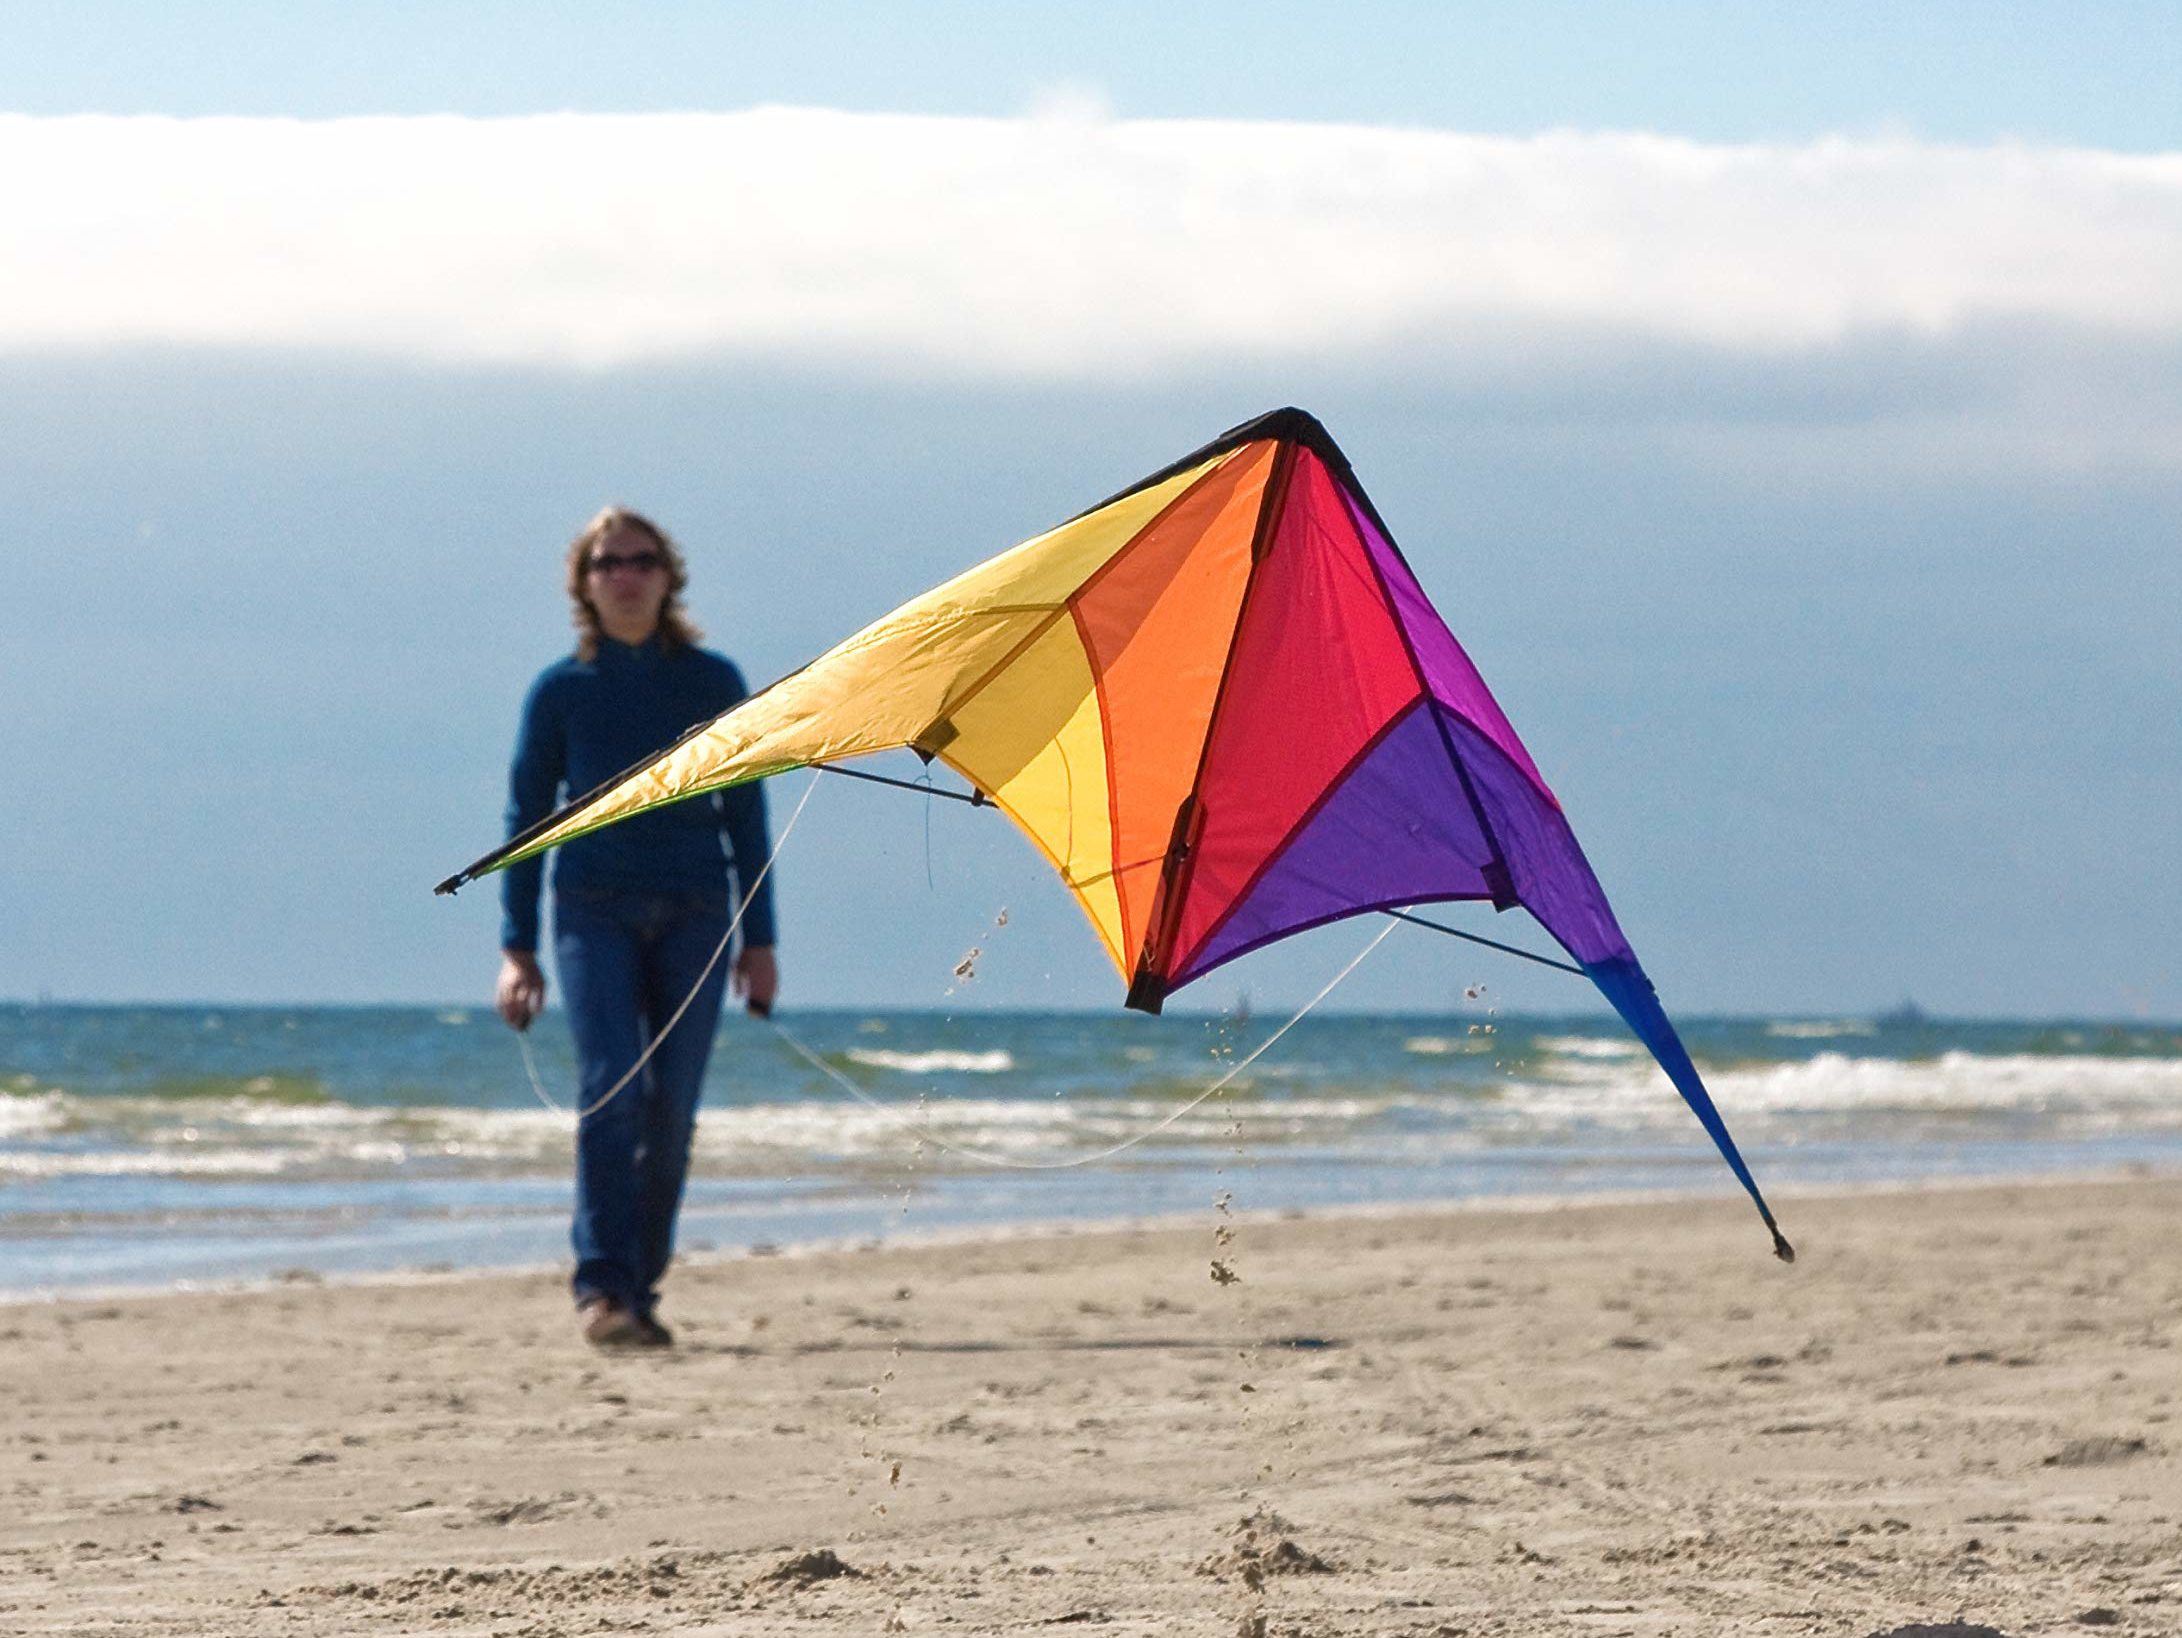
Step 4: Launch Your Kite

Once you've got the kite set up, you're ready to launch it! To launch you're going to first want to get the kite in an upright position. Gently tug on both lines so the nose is pointed towards the sky. Once you do this you give a sharp tug back and downward on both lines and take a few steps backward until the kite rises into the sky.
Step 5: Controlling Your Stunt Kite
To control the kite, pull on the right line to turn it to the right and the left line to turn it left. Holding one of the lines down and back will make the kite circle in the direction of the line you pulled. How hard you should pull can depend on the kite that you are flying and the conditions.

Keep in mind that as you move away from the center of the wind window the wind will be weaker, so if you fly too far to one side the kite may stall and fall out of the air! Don’t forget that learning how to control a stunt kite can take some getting used to, so don’t be discouraged if you crash a few times.
Step 6: Have Fun!
Flying a kite is supposed to be fun! Try to enjoy yourself and once you get the hang of the controls see if you can learn a few tricks!
Step 7: Breaking Down Your Kite
Once again hopefully you’ve already practiced this from Step 1. The first thing you want to do when breaking down your kite is to wind up the line. It’s important that you wind up the line in a figure 8 motion back onto the winder that it came on. This is going to make it easier to set up the kite next time you fly, as well as prevent unnecessary wear on the lines that could lead to snaps or breaking the next time you fly. After you’ve wound up the line, you want to break down a kite, usually, it’s just the reverse order of how you set it up.
You Did It!

Good work, you flew a stunt kite! Hopefully, you are ready and excited to fly it again when you get the chance. Remember to stay safe and most importantly, have fun. Happy Flying!